The mudroom, entryway, landing pad – whatever you call it – it can be your biggest ally or enemy in the order department. I have a tiny space in the entrance of my home that almost seems unusable…almost. I took a very narrow wall and made it a functional clutter buster in our home.
Remember when I talked about creating a morning routine? Part of our old morning routine was searching frantically for keys and wallets – not fun. Since one of my favorite things in life, besides chocolate pretzels, is coming up with organizing systems, I did just that with this little wall.
A place for keys:
We always had a key holder but it used to be in the office. The problem was that no one (including me) would walk to the office to drop off their keys. I added a key organizer right next to our entrance and that problem was officially solved.

A place for your bag:
Then there was my purse. I never lost it but it was always on the couch or the chair and it made the entrance look messy. I found this little deer hook and problem number two was no more.

A place for umbrellas:
Umbrellas – though not used daily, I wanted them handy. Sometimes we notice that it’s drizzling when we are on our way out, and it is really convenient to have an umbrella right there.
And on a totally related umbrella note: Do you know what happens when it rains cats and dogs? You might step in a poodle! – I’ll be here all night and I hang out with a 3-year-old all day.

A place for kid’s gear:
On the adjacent wall I have this enormous piece of furniture. When we started buying furniture for our home 11 years ago, I wondered if it was too big but now I wonder what I would do without it. It is technically a buffet for a dining room but here it functions as a “mudroom”.

It is decorated the way one would decorate a sofa table but the bottom tier holds a lot of kid stuff. The small drawers hold wallets, notepads and pens and the larger one has extra silverware.

Here is an orchid – totally unrelated to mudrooms, but pretty nonetheless. Sorry, I don’t know any orchid jokes. I’m sure you are glad.

I found these baskets at Target a few years back and they were fancy enough for this piece of furniture but practical enough for my boys. The bottom of the baskets are lined with felt and they are open bins so the boys actually use them. I know that if it had a lid, they wouldn’t but maybe that’s just my kiddos. They place their roller skates and all the safety gear in these baskets.

Add open and covered bins:
On either side, I have lidded bins that I use for extra candles.

I hope this post inspired you, especially if you have a small entrance like me! I encourage you to use every inch of space to your advantage so that your mornings are smoother and you can enjoy some graceful order at home.
I just thought of an orchid joke (actually I saw it online) “Are you an adult or…kid?”
Happy Organizing!
Also in the Organized Home Series:
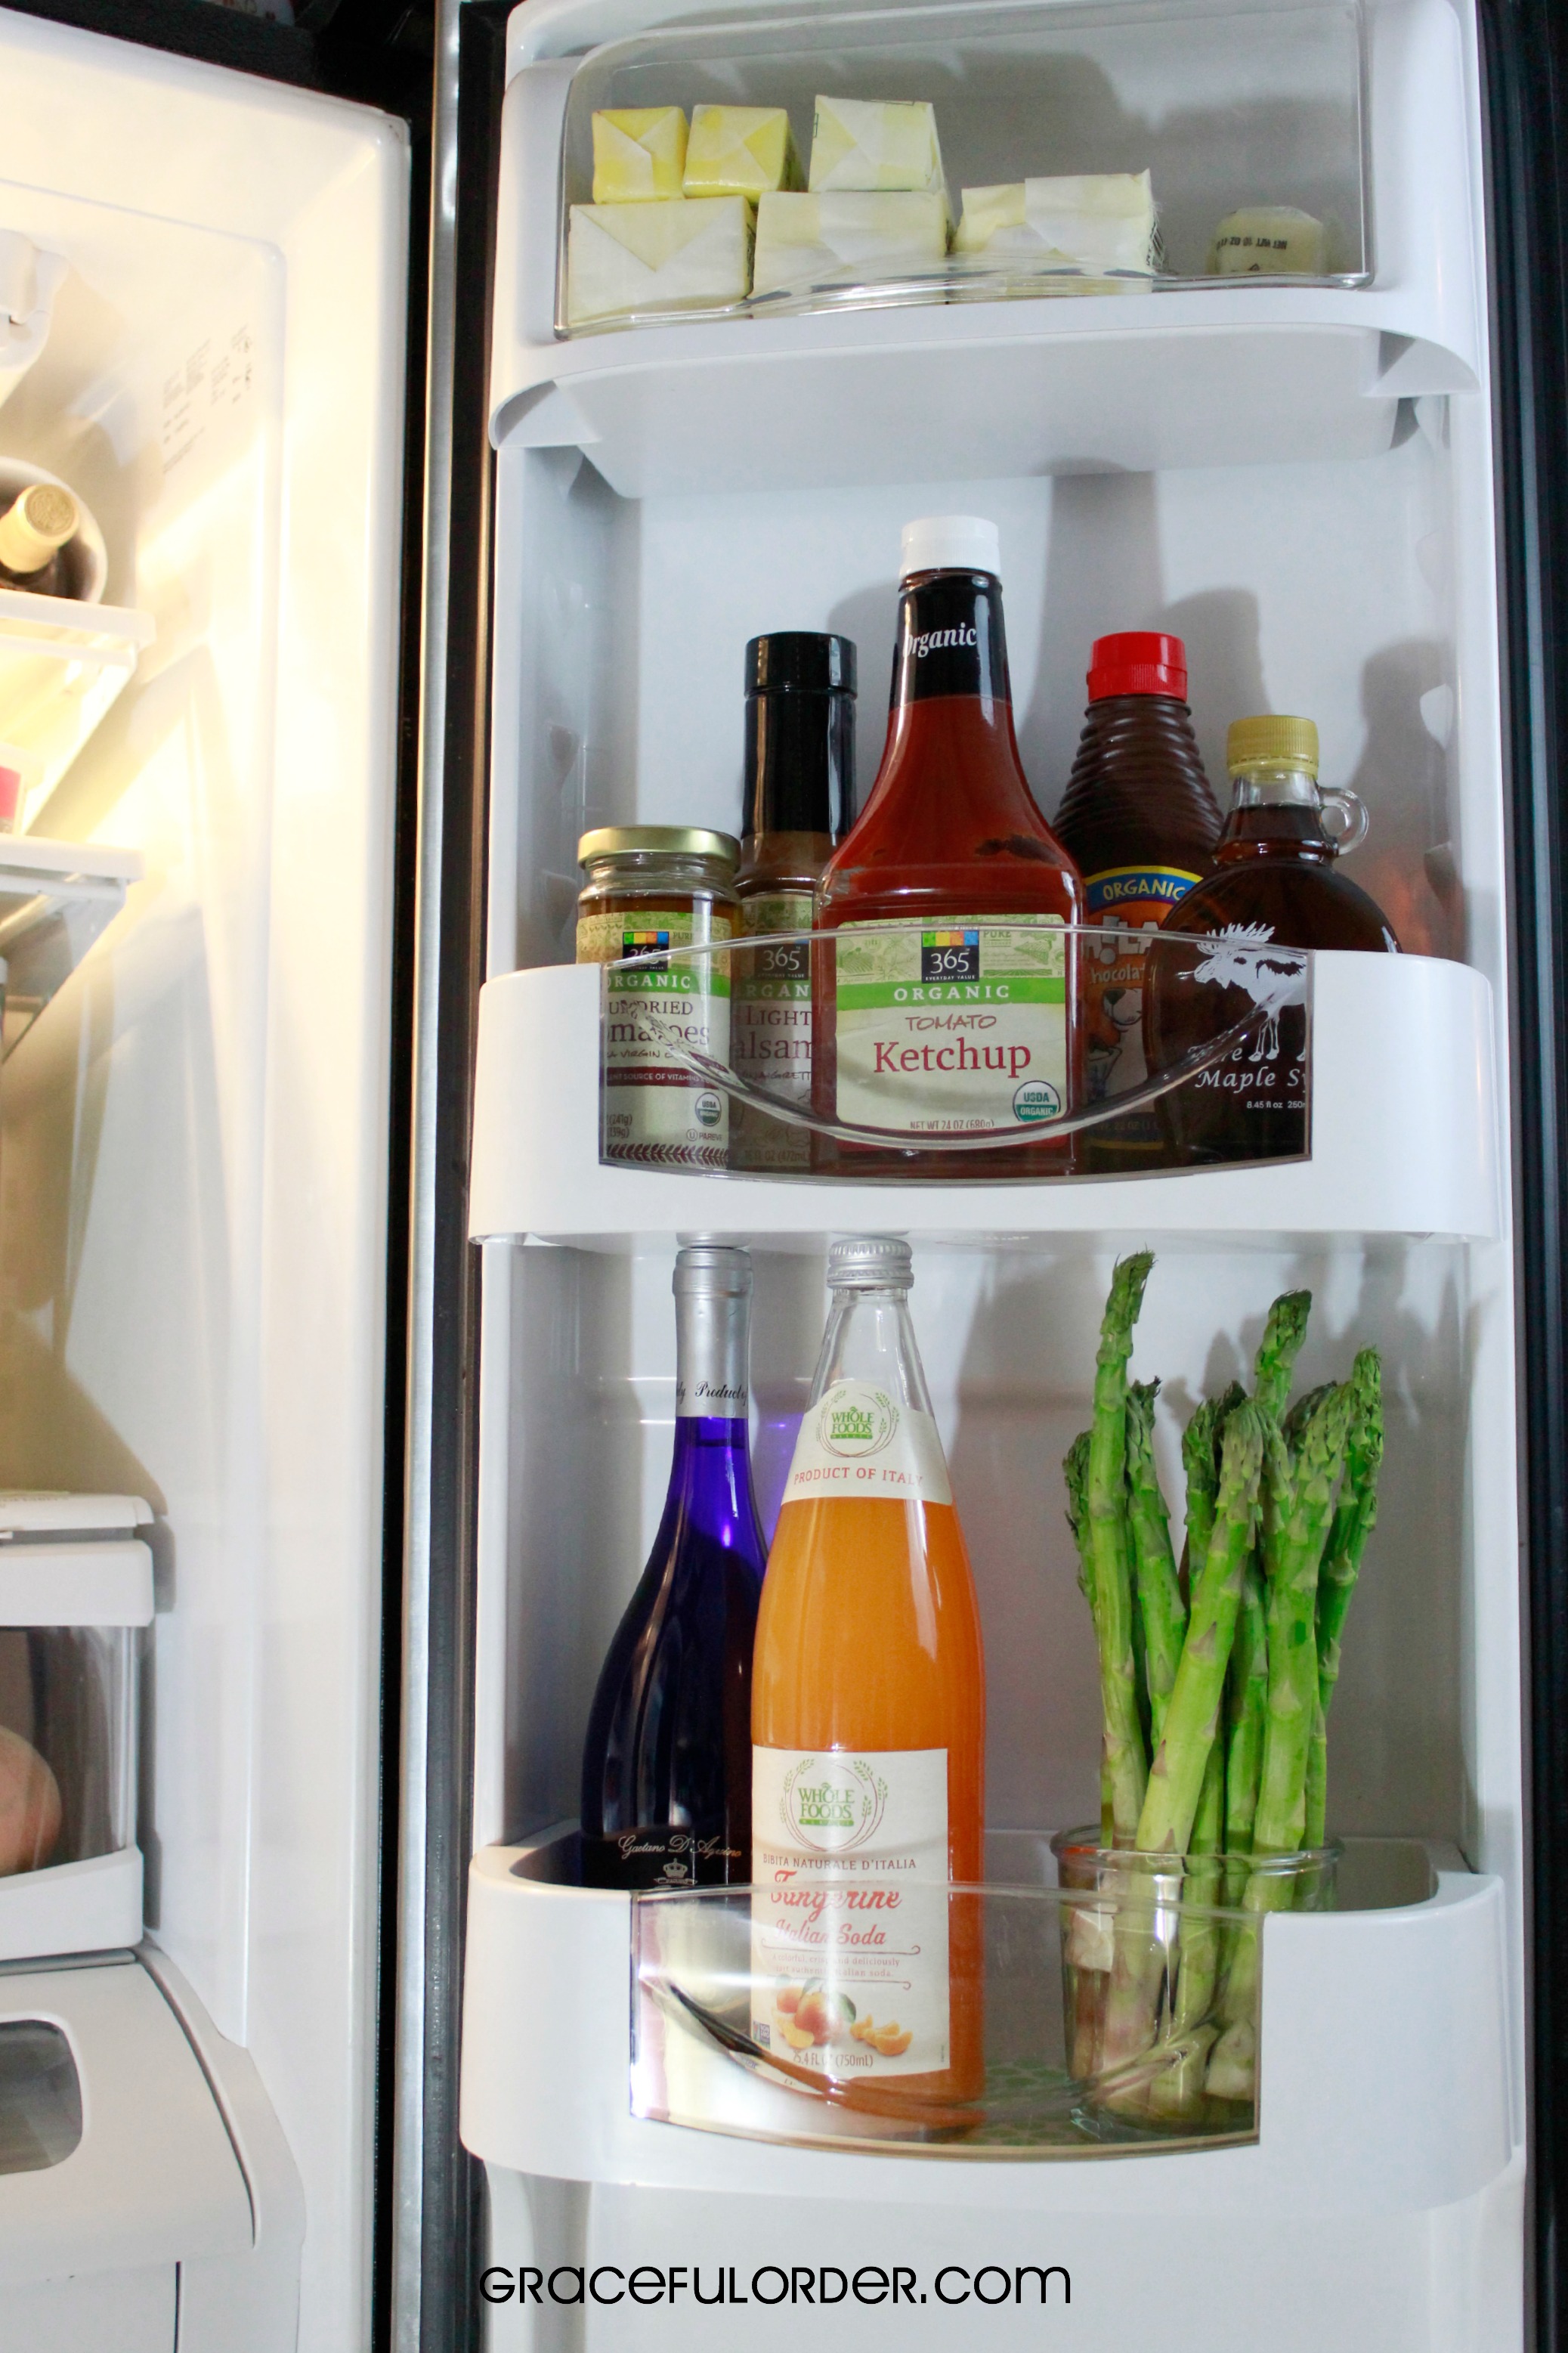
Week 1 – Organizing the Refrigerator
Week 2 – Organizing Kitchen Cabinets